Upscale or Edit? How to Know What Your Photo Really Needs
By Maria · 2026-07-22
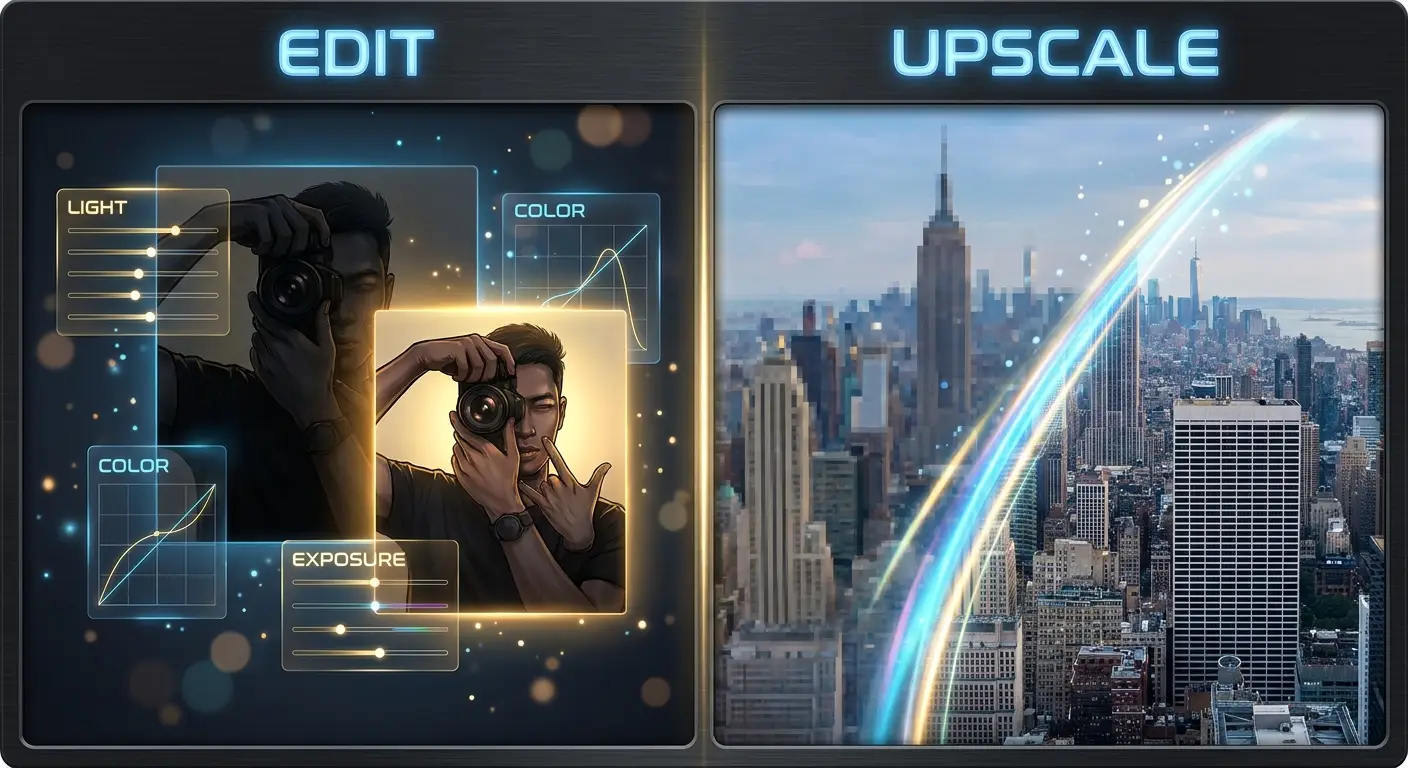
Not every low-quality photo needs the same fix. Learn when to edit, upscale, restore, or enhance an image for a cleaner, sharper final result.
You look at a photo that just doesn’t look right, and your first instinct is probably to open a photo editor. But playing with contrast or color sliders might not actually fix the issue. Think about a small image that turns into a pixelated mess when you enlarge it, or a dull portrait that already has plenty of resolution. Maybe you have an old family photo covered in scratches, or a blurry, compressed picture downloaded straight from social media. In these moments, figuring out how to improve photo quality means identifying the actual root of the problem first.
This brings up a common question: does your photo actually need editing, or would upscaling solve the real problem? While both approaches can transform a bad picture into a great one, understanding the difference between image upscaling and editing is key because they fix completely different issues. By the end of this guide, you will be able to look at any picture and quickly decide whether you need to upscale, edit, enhance, restore or combine a few different methods to make it look perfect.
Summary
Have you ever tried to fix a pixelated photo, only to realize that tweaking the contrast or brightness isn’t helping at all? Knowing exactly when to upscale and when to edit your image is the secret to achieving perfect photo quality. While photo editing fixes visual issues like bad lighting, dull colors, or distracting backgrounds, AI upscaling solves structural problems related to size, resolution, and pixelation. In this guide, we will show you how to quickly diagnose your photo’s specific problems, understand the key differences between these two workflows, and choose the right tools to get your image print- or screen-ready without wasting time.
What’s Actually Wrong With Your Photo?
Before getting into technical definitions, it helps to diagnose the exact problem. When people say a photo is “low quality,” they often mean completely different things. Take a closer look at your image and ask yourself:
Is the image simply too small for where you want to use it?
Does it become pixelated the moment you try to enlarge it?
Is the lighting too dark or too bright?
Are the colors looking dull or inaccurate?
Is there an unwanted object ruining the shot?
Is the image noisy or slightly blurry?
Is it an old photo with scratches, fading, or missing areas?
Does the picture look fine on your screen, but terrible when printed?
The problem you identify determines the tool you need.
Upscaling vs. Editing: What’s the Real Difference?
It helps to think of upscaling and editing not as complete opposites, but as two different tools in the same workflow. Editing is all about changing the existing elements of your photo. Whether you are fixing the exposure, adjusting dull colors, changing the composition, or removing an unwanted object, you are actively altering the visual information that is already there to make the image look better.
Upscaling, however, specifically focuses on increasing the pixel dimensions and resolution of your image. While older methods simply stretched the existing pixels (resulting in a blurry mess), modern AI upscaling goes much further. It can actually reconstruct and generate plausible missing details, allowing you to prepare a small image for a much larger output. Just keep in mind that while an AI photo upscaler can be incredibly powerful, it also has limitations: it cannot fix poor composition or fully correct severely inadequate lighting.
Here is a simple breakdown of which approach solves which problem:
What Do You Need to Do? | Upscaling | Editing |
|---|---|---|
Increase image dimensions | ✅ | ❌ |
Prepare a small image for larger output | ✅ | ❌ |
Improve colors | ❌ | ✅ |
Fix exposure | ❌ | ✅ |
Remove an unwanted object | ❌ | ✅ |
Change the background | ❌ | ✅ |
Improve perceived detail in a low-resolution image | ✅ | ❌ |
Change composition | ❌ | ✅ |
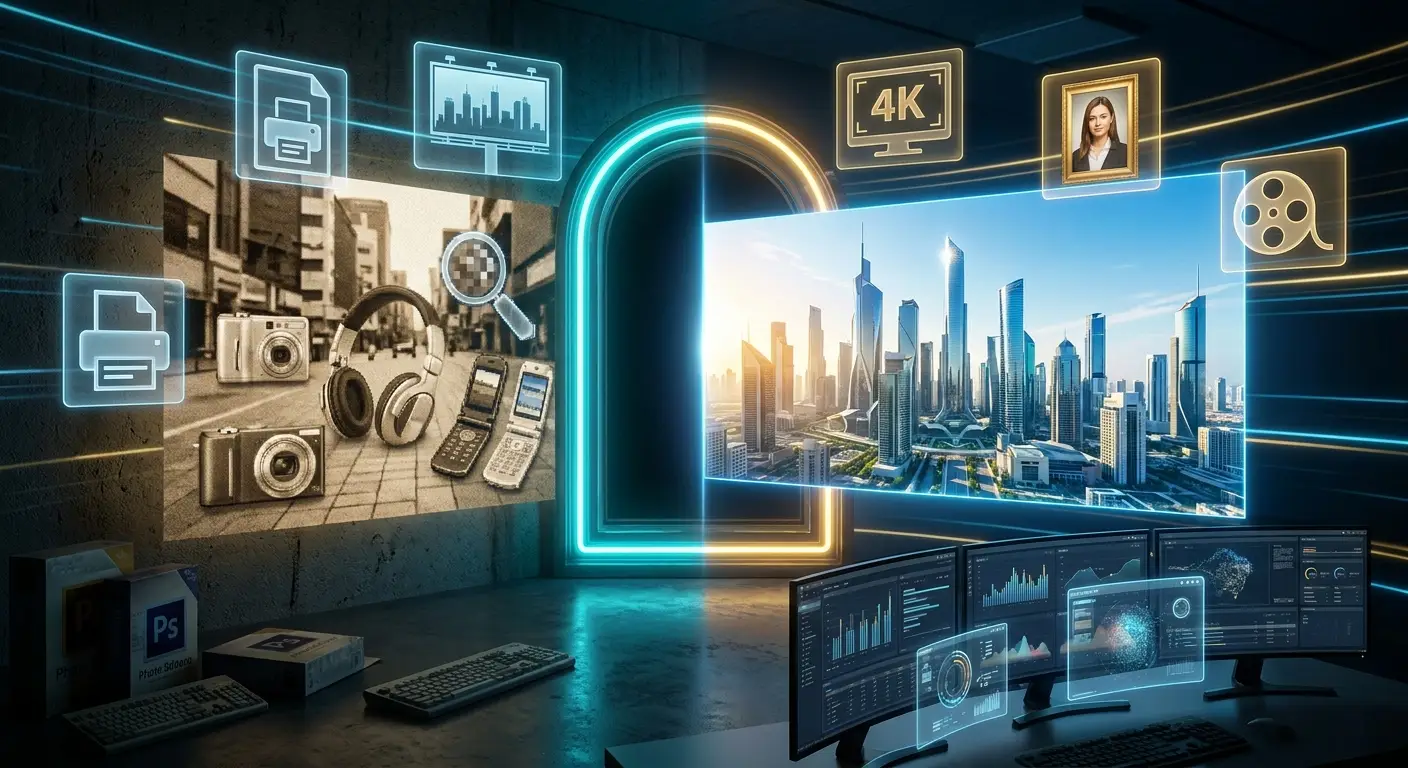
6 Signs Your Photo Needs Upscaling, Not Editing
This is where the rubber meets the road. If you are still wondering whether you should use an image upscaler or a photo editor, check your image against these six common scenarios.
1. Your Photo Looks Fine Until You Make It Bigger
We have all been there. You have a photo that looks crisp and perfectly acceptable as a thumbnail on your phone screen. But the moment you drop it into a presentation, poster, or larger digital design, it completely falls apart.
When you enlarge a low-resolution source, the software is forced to stretch the existing pixels. This results in pixelation those ugly, blocky squares and a total loss of visible detail. If zooming in ruins the image, upscaling is what you need.
2. You Want to Print a Small Digital Image
Preparing images for print is completely different from viewing them on a screen. When it comes to printing, pixel dimensions are everything. Simply opening a file and changing the setting from “72 PPI” to “300 PPI” does not magically create real, crisp detail out of thin air. It just forces the same limited data into a different density.
Useful Fact: Adobe notes that 300 pixels per inch (ppi) is considered the industry standard for high-quality prints viewed up close. However, large-format prints viewed from farther away (like billboards) can work perfectly fine at lower resolutions.
To get a high-quality 4x6 inch print at 300 ppi, your image needs to be at least 1200 x 1800 pixels. If your file is only 600 x 900 pixels, you cannot just edit it you need to upscale it to generate the missing pixel data before sending it to the printer.
3. Cropping Left You With Too Few Pixels
This is a very common real-world scenario. You start with a reasonably large, high-quality image. You crop it heavily to focus on one specific person or object in the background.
Suddenly, the remaining image is tiny. It no longer has the dimensions required for your intended use. Upscaling after a heavy crop is the best way to recover that lost size and prepare the image for a larger display or print.
4. You Have an Old Low-Resolution Digital Photo
Early digital cameras and old mobile phones produced very small files by today’s standards. If you have an old digital photo and the main issue is simply its limited resolution, upscaling will breathe new life into it.
However, a quick diagnostic check is needed here: if the photo is a scanned physical copy that contains scratches, tears, heavy fading, or missing sections, upscaling alone won’t fix it. In that case, you need dedicated [ AI Photo Restoration ] to repair the damage before you worry about making it bigger.
5. Your Image Is Too Small for a Larger Screen or Design
Sometimes, the math just doesn’t work in your favor. You might have a great image, but it physically lacks the width and height required for modern digital spaces. Common use cases include:
Website hero images
Digital displays and billboards
Marketing creatives
High-resolution screens (like 4K or Retina displays)
Presentations and portfolios
Enlarging a tiny image using ordinary software resizing will just make it look soft, blurry, or heavily pixelated. AI upscaling, on the other hand, intelligently attempts to produce a sharp, highly usable larger version.
6. The Photo Looks Good It’s Just Too Small
This is the clearest “Upscale, Don’t Edit” scenario of them all. Ask yourself if you are already perfectly happy with the:
Colors
Lighting
Composition
Background
Subject
If you answered yes to all of the above, but the file simply doesn’t have enough pixels for your intended output, editing isn’t going to solve your main problem. You don’t need to tweak the contrast or adjust the saturation. Upscaling is the only logical first step.
6 Signs Your Photo Needs Editing, Not Upscaling
On the flip side, making an image larger will not fix underlying visual flaws. If a photo looks bad because of how it was taken rather than its size, upscaling will just give you a larger bad photo. Here are six clear signs that you need a photo editor instead of an upscaler.
1. The Lighting Is the Problem
No amount of upscaling can fix a photo taken in the dark or washed out by harsh sunlight. If your image suffers from underexposure (too dark), overexposure (too bright), harsh shadows, or flat contrast, you need editing tools. Adjusting brightness and contrast will recover the details hidden in the shadows and highlights, bringing the photo back to life.
2. The Colors Don’t Look Right
Sometimes a photo just feels “off.” Maybe indoor lighting made everything look too yellow, or a snowy scene looks unnaturally blue. These are issues with white balance and color temperature. If your subject’s skin tone looks unnatural or the scene lacks vibrancy, you need color correction and saturation adjustments not more pixels.
3. Something in the Photo Needs to Disappear
Did a stranger walk into the background of your perfect travel shot? Is there a distracting trash can ruining an otherwise beautiful street photo? Increasing the resolution will not remove these distractions; it will only make the photobomber sharper! To clean up your image, you need to edit it, specifically using tools like [ AI Object Removal ] to seamlessly erase unwanted elements.
4. The Background Is the Problem
Sometimes the subject is perfect, but the environment is all wrong. You might have a great product shot taken on a messy desk, or you need to place a portrait onto a clean, transparent background for a website design. In these scenarios, upscaling is useless. You need to isolate your subject using [ AI Background Removal ] to swap or eliminate the distracting backdrop entirely.
5. The Composition Feels Wrong
A great photo guides the viewer’s eye. If the horizon in your landscape is crooked, or your subject is awkwardly placed in the corner of the frame, the composition is broken. You need an editor to crop the image, straighten the angles, and reposition the framing to follow principles like the rule of thirds. (Just remember, if you crop too heavily, you might then need to upscale it!).
6. The Image Is Already Large Enough
If your file is already 4000 pixels wide but still looks unappealing, resolution is not your enemy. Blindly running a massive, high-resolution file through an AI upscaler will only waste processing time and create an unnecessarily heavy file without solving the actual visual problem. Check your dimensions first; if they are sufficient for your intended use, head straight to the editing suite.
What Does Your Photo Actually Need?
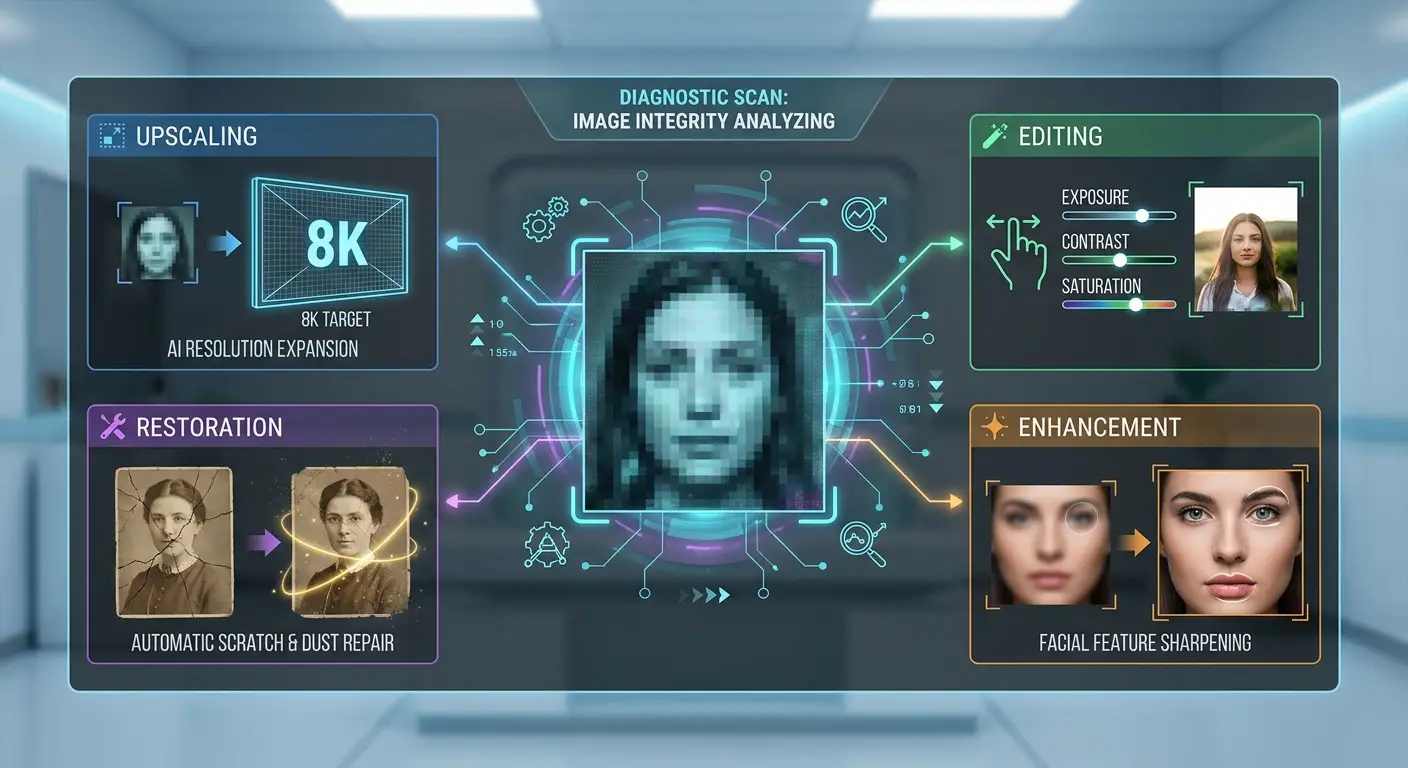
People often say, “My photo is bad quality,” but “bad quality” isn’t just one single problem. It’s an umbrella term for dozens of different visual issues. Because of this, you shouldn’t expect a single AI tool to act as a magic wand that fixes everything at once.
The key to achieving a perfect image is diagnosing the exact problem first. Once you know what is actually wrong, you will know whether to reach for an editor, an upscaler, or a specific AI feature. Here is a quick decision table to help you find the best starting point.
Photo Problem | Best Starting Point | Why |
|---|---|---|
Too small / low resolution | Upscaling | Adds missing pixels to naturally increase the size without losing sharpness or creating pixelation. |
Poor lighting | Editing | Adjusts exposure and shadow details. Upscaling a dark photo will just give you a larger dark photo. |
Dull or inaccurate colors | Editing | Fixes white balance and saturation to bring vibrancy and life back to a flat image. |
Unwanted object | Editing ([AI Object Removal]) | Uses content-aware AI to seamlessly erase photobombers or trash without ruining the rest of the image. |
Distracting background | Editing ([AI Background Removal]) | Isolates your main subject so you can delete or swap out a messy or unprofessional backdrop entirely. |
Old, scratched photo | [AI Photo Restoration] | Specialized AI heals physical damage, tears, and scratches before you worry about adjusting color or size. |
Slightly soft portrait | [AI Face Enhance] | Focuses specifically on rebuilding facial features like eyes, teeth, and skin texture for a crisp, professional look. |
Small + poorly lit | Edit First, Then Upscale | Always fix your lighting and colors first. Upscaling should be the final step on an already well-lit, corrected image. |
Should You Edit First or Upscale First?
One of the most common questions creators ask is whether they should upscale a photo before editing it, or the other way around. The truth is, there is no universal, one-size-fits-all rule. You shouldn’t always upscale first, and you shouldn’t always edit first. The correct order depends entirely on your specific workflow, the software you are using, and your final goal.
To help you figure out the best approach, let’s look at how you might handle three common situations:
1: A Dark, Low-Resolution Photo
Imagine you have a small image taken in a dimly lit room. In most cases, it makes sense to correct major exposure and color problems before upscaling. If you upscale a dark, noisy image first, you are simply asking the AI to multiply bad pixels and amplify the shadows. Correct your lighting and color balance so the image looks natural, and then upscale the clean version as your final step.
2: A Small Photo With an Unwanted Object
Let’s say you have a great picture, but there is a distracting trash can in the background. It is usually best to remove the unwanted content first. Using AI object removal on a smaller file is often faster and leaves less room for the AI to generate weird textures. Once the background is clean and perfect, you can upscale the image to your required output size.
3: A Cropped Portrait for Printing
If you are preparing a portrait for a physical print, composition is everything. Start by cropping the image to your final framing. Once cropped, check the new pixel dimensions. Now you know exactly how much you need to upscale the photo to meet the printer’s requirements. Crop first, upscale to the right size, and then apply any final sharpening or output checks.
Can AI Upscaling Actually Restore Lost Detail?
When you see a blurry photo suddenly become crystal clear, it looks like magic. But can AI upscaling actually restore detail that was permanently lost? The short answer is no at least, not exactly. It is helpful to understand a very common myth:
AI can perfectly recover every original detail from any low-resolution image. Reality is quite different: AI can reconstruct or generate plausible new details that make an image appear sharper and more detailed, but those details are not guaranteed to match the original scene exactly. The AI uses patterns it learned during its training to confidently guess what should be there, rather than literally recovering information that is absent from the file.
This guessing game is why we have to be careful with how we use these tools. Recent research on generative super-resolution highlights a specific risk known as “hallucinated” visual details. Because the AI is trying to fill in the blank spaces between pixels, it might invent textures, lines, or facial features that look highly realistic but do not faithfully match the low-resolution source or the ground truth of the actual scene. It is essentially creating a very convincing approximation of reality.
While this is perfectly fine for making a social media graphic look better or improving a casual blog post cover, it becomes a serious problem when accuracy is non-negotiable. Because AI hallucinates details, you should be extremely cautious when upscaling historical or documentary images, legal evidence, scientific and medical imagery, or precise product photos where every detail must remain exact. In these situations, generating “fake” sharpness can do more harm than good.
How Much Should You Upscale a Photo?
It can be tempting to push the AI slider all the way to maximum, but bigger is not always better. There is no single multiplier that works perfectly for every image. The more you force an AI to enlarge a photo, the more it has to guess which increases the risk of unnatural textures or hallucinated details.
The golden rule: Choose your upscale factor based on the final size you actually need not simply the largest option available. Calculate your target dimensions first, and upscale only enough to reach that goal.
Practical Upscaling Guide
Upscale Level | When It May Make Sense | What to Watch For |
|---|---|---|
2×2\times2× | Minor cropping fixes, standard blog images, or social media posts. | Usually very safe. It keeps the original feel with minimal AI interference. |
4×4\times4× | Print materials, large website hero banners, or very small source files. | The AI has to invent more pixels. Watch out for smooth, “plastic-looking” skin or slightly changed background textures. |
8×8\times8× or higher | Extreme cases, such as turning a tiny thumbnail into a usable graphic. | High risk of hallucinated details, weird artifacts, and loss of the original photo’s authenticity. |
Real-Life Examples: What Would You Choose?
Let’s put this into practice. Sometimes, the line between needing an edit or an upscale can feel blurry. Here is a quick cheat sheet for common scenarios to help you decide on the best tool for the job.
Situation | Best Choice |
|---|---|
A tiny wedding photo you want to print | Upscale |
A large portrait that’s too dark | Edit |
An old family photo with scratches | Restore |
A low-res product image with poor lighting | Edit + Upscale |
A photo with a stranger in the background | Object Removal / Edit |
A small cropped portrait for a poster | Upscale |
A selfie with enough resolution but weak facial detail | Enhance |
Why did we choose these? Let’s look at three quick examples:
A low-res product image with poor lighting (Edit + Upscale): If you upscale a dark photo first, the AI will simply give you a larger, higher-resolution dark photo. Fixing the lighting and contrast first ensures the AI has the best possible details to work with when it adds new pixels.
A tiny wedding photo you want to print (Upscale): Printing requires a high pixel density (usually 300 ppi). Since the colors and lighting are likely already fine in a professional wedding photo, you just need to make the file physically larger. Upscaling is the direct solution here.
A selfie with enough resolution but weak facial detail (Enhance): You don’t actually need a larger file size. Increasing the dimensions won’t bring back blurry features. Instead, using an AI Face Enhance will sharpen the eyes, define the lips, and bring back the missing clarity without unnecessarily inflating the image dimensions.
So, Should You Upscale or Edit Your Photo?
Knowing whether to upscale or edit your photo doesn’t have to be a guessing game. It all comes down to one simple, memorable rule: if the problem is size or resolution, think upscale. If the problem is what’s actually inside the image like bad lighting, awkward colors, or distracting backgrounds think edit. Of course, the reality of digital photography is that some photos simply need both to reach their full potential.
The key is to identify the root cause of your image issues so you don’t waste time on the wrong workflow. If your photo already looks the way you want but falls apart when you make it bigger, start by increasing its resolution with a reliable AI Photo Upscaler before making unnecessary edits. Understanding this difference ensures you preserve the original feel of your image while giving it the exact treatment it needs to look professional in print or on screen.