
How to Enlarge Photos Without Losing Quality
By Maria · 2026-06-22
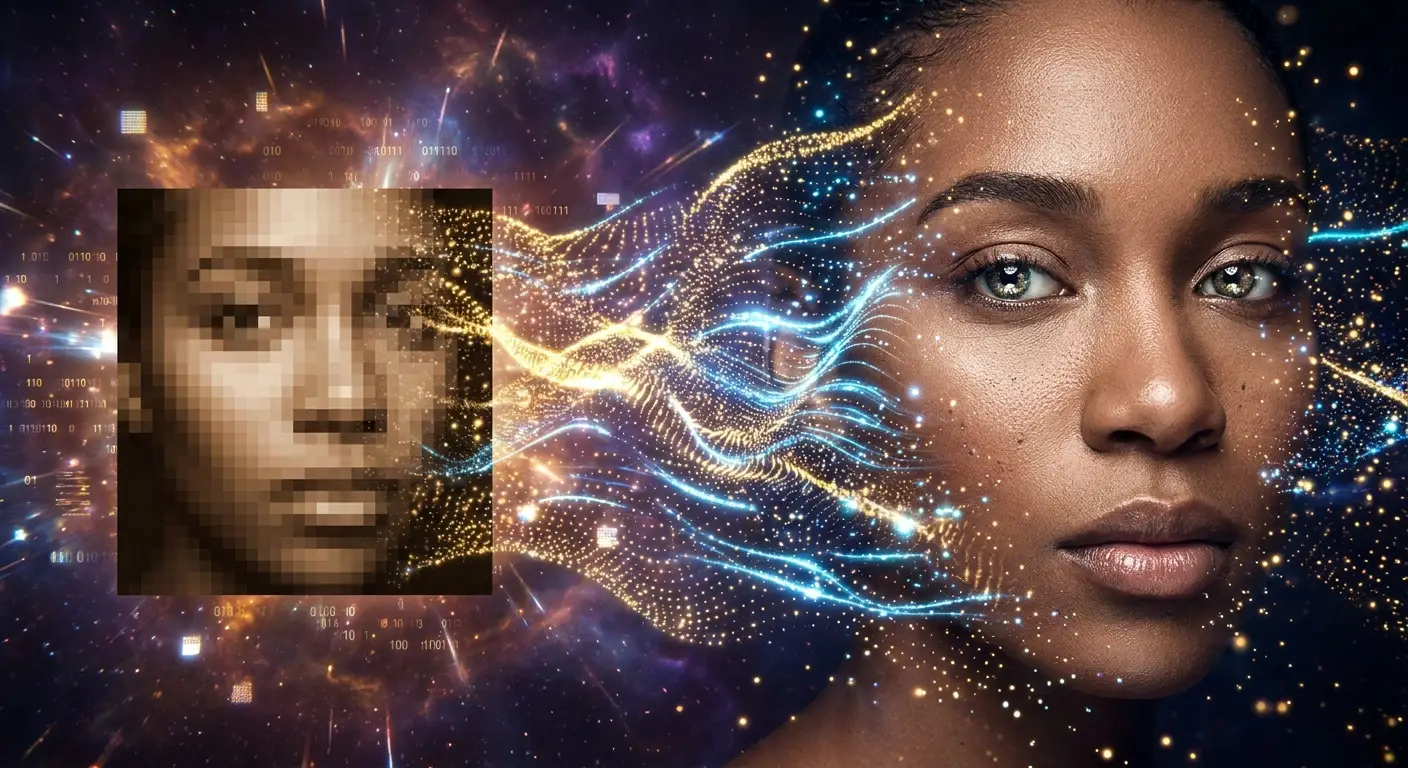
Enlarging photos often leads to blur and loss of detail, but modern AI tools can upscale images while preserving quality. This guide explains how AI image upscaling works and shows simple ways to increase photo size without losing sharpness, making your images suitable for print, websites, and social media.
Enlarging a photo refers to increasing its size or resolution so it can be used for purposes such as printing, large displays, or professional design work. While this process may seem simple, it often leads to a noticeable drop in image quality when using traditional methods. As images are made up of fixed pixels, stretching them without adding new information can result in blurriness, pixelation, and loss of detail.
In many situations, such as preparing visuals for marketing, improving old photos, or adapting images for high-resolution screens, enlarging images becomes essential. However, modern AI-powered technologies have significantly changed this process by analyzing image patterns and intelligently reconstructing missing details, allowing for much higher-quality results.
In this guide, you will learn what image enlargement really means, why quality loss occurs, and how today’s advanced tools can help you upscale images while maintaining clarity and detail.
Summary
Enlarging photos without losing quality has become much easier with modern AI technology. This guide explores why images lose sharpness when resized, how AI image upscaling improves detail compared to traditional methods, and the most effective ways to increase resolution while keeping photos clear and crisp. You’ll also discover practical tips for printing, selecting the right images, avoiding common resizing mistakes, and improving overall photo quality for digital and professional use. Whether for websites, social media, or print projects, these methods help you achieve sharp, high-resolution results effortlessly.
Why Photos Lose Quality When Enlarged
To understand why photos often lose quality when enlarged, it's important to first understand image resolution. Image resolution refers to the number of pixels that make up an image, typically measured in width and height, such as 1920 × 1080 pixels. The more pixels an image contains, the more detail it can display. Image size and file size are often confused, but they are different. Image size refers to the dimensions of the picture, while file size refers to the amount of storage space the image occupies on a device. Pixels play a critical role in image clarity because they are the tiny visual elements that form the entire picture.
When a photo is enlarged using traditional resizing methods, the software simply stretches the existing pixels to fill a larger area instead of creating new details. As a result, edges become softer, fine details disappear, and visible pixelation may occur. Common quality issues after enlargement include blurry textures, jagged lines, loss of sharpness, color distortion, and a grainy appearance. These problems become even more noticeable when a low-resolution image is enlarged significantly beyond its original dimensions.
How AI Image Upscaling Improves Photo Quality
Image upscaling is the process of increasing the size of a photo while trying to keep its quality as intact as possible. Traditional methods usually rely on interpolation, where new pixels are estimated based on surrounding ones. Although this can make an image larger, it often leads to soft edges, blurry details, and noticeable pixelation because no real new detail is actually added.
AI-powered upscaling works in a completely different way. Instead of just stretching pixels, it uses machine learning models trained on millions of images to understand patterns, textures, shapes, and objects. Based on this understanding, it can intelligently reconstruct missing or unclear details in the image.
This is the main difference between the two approaches: interpolation only resizes existing data, while AI tries to rebuild what should realistically be there. As a result, AI upscaling can sharpen edges, restore textures, and significantly improve overall clarity.
Modern AI tools also go a step further by reducing noise, enhancing facial details for more natural-looking portraits, improving textures like hair, fabric, and landscapes, and fine-tuning color and sharpness. Together, these improvements help produce larger images that look cleaner, more detailed, and much closer to true.
Best Ways to Enlarge Photos Without Losing Quality
There are several effective methods to enlarge photos while maintaining clarity and detail. The best option depends on your needs, experience level, and the tools available to you.
1. Using AI Image Enlargers
AI image enlargers are among the most effective solutions for increasing image size without sacrificing quality. These tools use advanced algorithms to analyze the original photo, reconstruct missing details, sharpen edges, and reduce noise during the enlargement process. They are particularly useful for enhancing portraits, product images, social media graphics, and older photos that need additional resolution.
2. Enlarging Photos with Professional Editing Software
Professional image editing programs offer advanced resizing features that provide greater control over the enlargement process. Many modern editing tools include intelligent resampling options, sharpening controls, and image enhancement features that help preserve detail when increasing dimensions. This method is ideal for photographers, designers, and professionals who require precise adjustments and high-quality output.
3. Increasing Image Size Using Online Tools
Online image enlargement tools provide a convenient way to increase photo dimensions directly from a web browser. Most platforms allow users to upload an image, select the desired enlargement level, and download the enhanced version within minutes. These tools are popular because they require no installation, work across devices, and often include AI-powered enhancement capabilities that help maintain image quality.
4. Using Mobile Apps for Photo Upscaling
Mobile photo upscaling apps make it easy to enlarge images directly from a smartphone or tablet. Many apps use AI technology to improve resolution, enhance details, and reduce blur with minimal effort. This option is especially useful for content creators, social media users, and anyone who needs quick image improvements while on the go.
Step-by-Step Guide to Enlarging Photos Without Losing Quality in Betatum
Betatum AI makes it simple to enlarge photos while preserving sharpness and detail. By using AI-powered image enhancement technology, the platform can increase image dimensions without the excessive blur or pixelation commonly seen with traditional resizing methods.
Step 1: Upload Your Image
Open AI Photo Upscaler and upload the photo you want to enhance. The platform supports common image formats and processes both low-resolution and high-resolution images.
Step 2: Choose the Enlargement Level
Select how much you want to enlarge the image. Depending on your needs, you can increase the dimensions for digital use, social media content, marketing materials, or high-quality printing.
Step 3: Let AI Process the Image
Once the settings are selected, Betatum's AI analyzes the image, identifies important details, and intelligently generates additional visual information. This process helps improve image resolution while maintaining natural-looking textures and sharp edges.
Step 4: Review the Enhanced Result
After processing, compare the enlarged version with the original image. Pay attention to improvements in clarity, detail, edge definition, and overall image quality.
Step 5: Download the Final Image
When you're satisfied with the results, download the enhanced image in its improved resolution. The enlarged photo is ready for use in presentations, websites, social media posts, print materials, or professional projects.
By following these simple steps, you can enlarge photos in Betatum AI quickly and efficiently while achieving a clearer, sharper, and more professional-looking result.
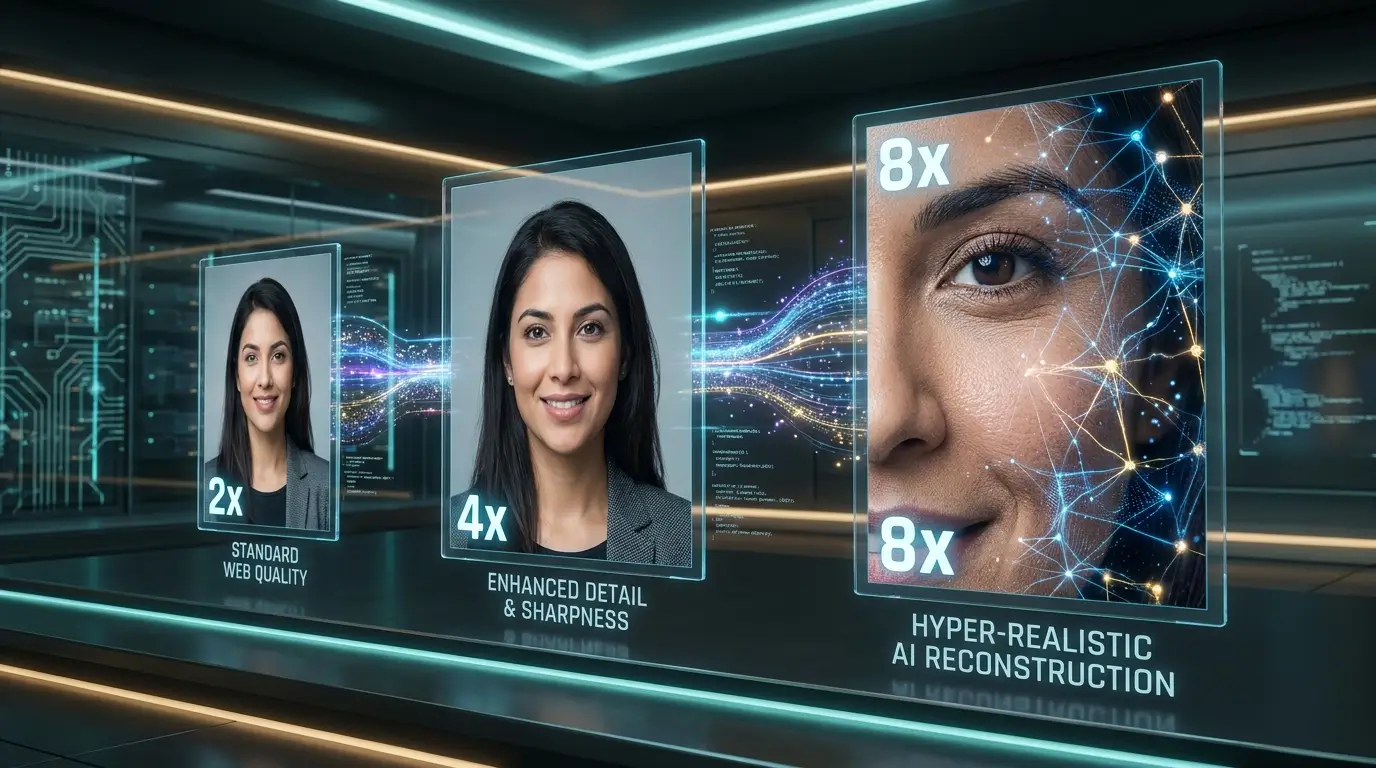
How Much Can You Enlarge a Photo?
The amount a photo can be enlarged depends on its original resolution, image quality, and the enhancement technology being used. Modern AI tools can significantly increase image dimensions while preserving detail, but the final results will vary from one image to another.
2× Enlargement
Doubling the size of an image is usually the safest option and produces the most natural-looking results. Most photos retain excellent sharpness and detail at this level, making it suitable for social media, websites, presentations, and moderate-size prints.
4× Enlargement
Increasing an image by four times its original size can still deliver impressive results when using AI-powered upscaling technology. High-quality source images often maintain good clarity, while textures, edges, and important details remain well-defined. This level is commonly used for marketing materials, posters, and larger digital displays.
8× Enlargement
An eight-times enlargement is ideal when substantial resolution increases are required. Advanced AI models can reconstruct missing details and improve overall image quality, but the success of the enlargement depends heavily on the original image. Photos with strong lighting, sharp focus, and minimal compression generally produce the best results.
Factors That Affect Final Quality
Several factors influence how well a photo can be enlarged:
Original image resolution
Sharpness and focus of the photo
Lighting and exposure quality
Amount of image noise or grain
Compression level and file quality
Complexity of textures and fine details
The AI enhancement technology being used
When Enlargement Becomes Noticeable
Even with advanced AI upscaling, enlargement can become noticeable when a photo is pushed beyond the amount of detail available in the original image. Extremely low-resolution photos may begin to show artificial textures, softened details, or reconstructed elements that differ slightly from the original scene. For the most natural results, it's best to start with the highest-quality source image available and choose an enlargement level that matches your intended use.
How to Choose the Right Image for Enlargement
Selecting the right image before upscaling plays a key role in achieving sharp and high-quality results. Not all photos respond equally to enlargement, so evaluating a few important factors can help you get the best possible output.
Original image quality
Start with the highest-quality version available. Images that are already clear and well-defined will produce better enlargement results compared to heavily degraded photos.
Resolution and dimensions
Higher-resolution images contain more pixel data, which allows AI tools to retain and reconstruct details more effectively during enlargement.
Compression level
Heavily compressed images (such as low-quality JPEGs) often lose detail, making it harder to avoid blur or artifacts when increasing size.
Lighting conditions
Well-lit images with balanced exposure usually upscale better because important details are easier to detect and enhance.
Subject detail
Photos with clear edges, textures, and defined subjects tend to produce more natural-looking results compared to overly complex or noisy images.
File format considerations
Lossless or high-quality formats (such as PNG or high-quality JPEG) are generally better for enlargement than heavily compressed or low-bit-rate files.
Tips for Getting the Best Enlargement Results
Achieving high-quality results when enlarging images depends not only on the tool you use but also on how you prepare and process the image. Following a few best practices can significantly improve clarity, sharpness, and overall output quality.
Use the highest-quality original image available
Always start with the best possible version of your image. High-resolution originals contain more pixel data, which helps preserve details and reduces the risk of blur or distortion during enlargement.
Choose AI-powered tools when possible
Modern AI-based enlargers can intelligently analyze images and reconstruct missing details. This leads to more natural results compared to traditional resizing methods that simply stretch pixels.
Avoid repeated resizing
Resizing an image multiple times can gradually degrade quality. It is better to enlarge the image once using the correct settings rather than repeatedly adjusting its size.
Apply enhancement settings carefully
Many tools offer options such as sharpening, noise reduction, and detail enhancement. Adjust these settings carefully to avoid over-processing, which can make images look artificial.
Save images in appropriate formats
Use high-quality formats like PNG or high-quality JPEG when saving enlarged images. This helps preserve detail and prevents unnecessary compression loss.
Review results at full resolution
Always check the final image at 100% zoom to ensure that edges, textures, and details appear clean and natural before using or publishing it.
How to Enlarge Photos for Printing Without Losing Quality
When enlarging photos for printing, it is important to focus on resolution, clarity, and output quality to ensure the final result looks sharp on paper. Print-specific image enlargement requires careful attention to DPI (dots per inch), as higher DPI values such as 300 DPI are typically recommended for professional-quality prints. The print size and resolution must also match the intended output dimensions, since enlarging an image beyond its original resolution without proper enhancement can lead to blurry or pixelated results. Choosing the right file format is equally important, with formats like TIFF or high-quality JPEG being preferred for preserving detail and reducing compression loss. To prevent blurry prints, it is essential to use AI upscaling or high-quality resampling methods that preserve edges and textures during enlargement. Properly preparing images for posters and banners often involves balancing size and clarity, ensuring that even large-scale prints maintain visual sharpness and professional quality.
AI Image Upscaling vs Traditional Image Resizing
AI image upscaling and traditional image resizing are two very different approaches to increasing image dimensions. Traditional resizing simply stretches or compresses existing pixels, which often leads to a loss of detail and visible pixelation. In contrast, AI image upscaling uses machine learning to analyze image patterns and generate new pixel data, resulting in sharper and more realistic results.
Feature | Traditional Image Resizing | AI Image Upscaling |
|---|---|---|
Method | Traditional Image Resizing | Reconstructs new pixel details using AI |
Image Quality | Often blurry or pixelated | Sharp and detailed |
Detail Preservation | Low | High |
Edge Quality | Soft and jagged edges | Clean and enhanced edges |
Noise Reduction | Not available | Built-in AI noise reduction |
Texture Improvement | Not possible | Recreated and enhanced textures |
Processing Technology | Basic interpolation | Machine learning models |
Best Use Case | Simple resizing tasks | Professional-quality enlargement |
Common Mistakes to Avoid When Enlarging Photos
Enlarging photos can deliver excellent results when done correctly, but a few common mistakes can quickly reduce image quality and lead to unwanted blur, pixelation, or distortion.
Starting with a low-quality image
Using a poor or heavily compressed original image limits the amount of detail available, making it difficult to achieve a sharp and clean enlargement.Enlarging too much at once
Increasing image size beyond reasonable limits in a single step can reduce clarity. It is better to use controlled scaling or AI-based upscaling.Using excessive sharpening
Over-sharpening may create unnatural edges, halos, and noise, making the image look artificial instead of enhanced.Saving in highly compressed formats
Saving enlarged images in low-quality JPEG or overly compressed formats can reintroduce artifacts and reduce overall clarity.Ignoring resolution requirements
Different use cases such as web, print, or banners require specific resolution standards. Ignoring these can result in blurry or unusable outputs.Choosing the wrong upscaling tool
Not all tools provide the same quality. Traditional resizers may not handle detail preservation well, while AI-powered tools generally produce more accurate results.
Conclusion
The key takeaway is that image quality depends on resolution and how the image is enlarged. Traditional resizing often reduces sharpness, while AI-based methods help preserve and rebuild details for clearer results. The best approach is to start with a high-quality original image and use the right tool for the job.
AI image enlargement is the most effective option when you need to increase image size while keeping details, textures, and edges sharp. It is especially useful for prints, marketing visuals, and restoring old photos.
For best results, avoid unnecessary resizing and choose AI tools when quality matters. By following these simple steps, you can achieve clean, high-resolution images that look professional in both digital and print formats.