
How to Add Objects to Photos Without Photoshop Easily
By Maria · 2026-09-27
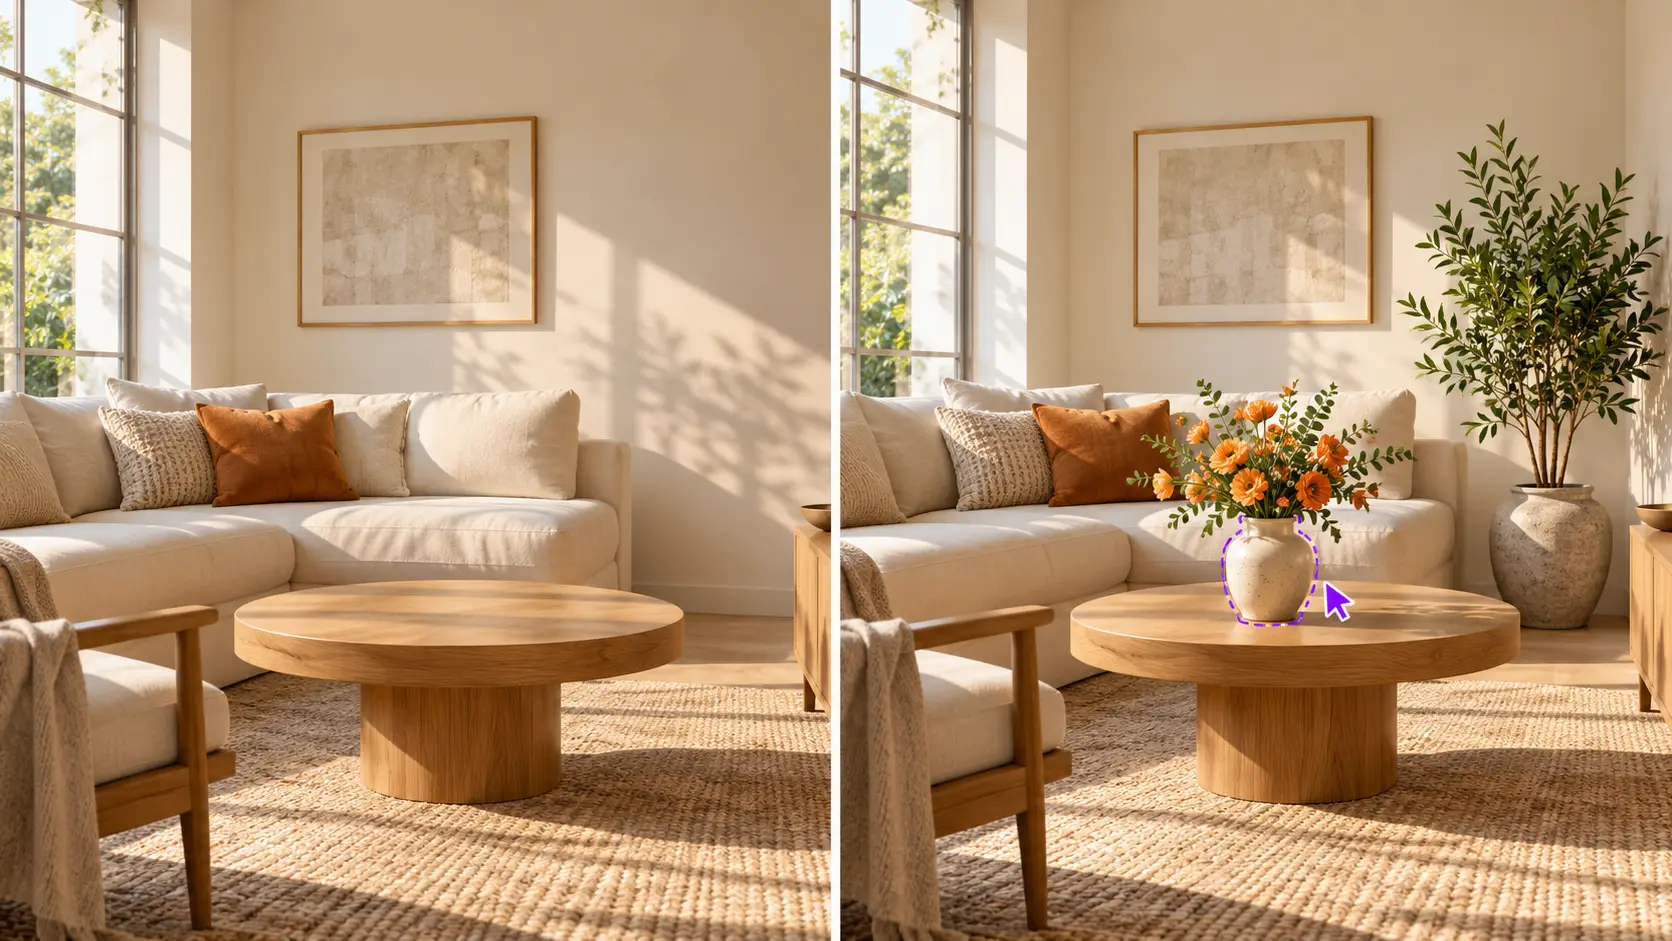
Add objects to photos without Photoshop using AI Generative Fill. Learn how to select an area, write prompts, and create natural-looking edits with Betatum.
You can add objects to photos without Photoshop by using AI generative fill. Simply select the area where you want something to appear, describe the object, and let AI generate it within your existing image. With Betatum AI Generative Fill, you can control the object's location and refine the result without manually working with layers or masks.
The result still depends on your original photo and how you guide the edit. An object that is too large, poorly positioned, or inconsistent with the scene's lighting may need another attempt.
Traditionally, inserting an object into a photo involved selecting it from another image, creating layers and masks, adjusting perspective, and manually matching shadows. Even adding something as simple as a vase to an empty table could require several editing steps.
AI generative fill simplifies this process by creating new content directly inside a selected part of your photo. In this guide, you'll learn how to add an object to a photo using AI generative fill , control where it appears, and make the final edit look like it belongs in the original scene.
Quick Summary
Adding objects to photos without Photoshop is easier with AI generative fill. Betatum lets you select an area, describe what you want to add, and generate new content that fits into your existing image.
Start with a clear photo: Use a high-quality image with enough space for the new object.
Select the right area: Click an existing object or use the brush to mark where the new element should appear.
Write a clear prompt: Describe the object's appearance, position, size, and relationship to the scene.
Generate and refine: Check the lighting, shadows, perspective, and placement to make the edit look natural.
Explore different uses: Add objects, furniture, accessories, or people to product photos, interiors, and creative images. Remember that AI-generated content may not exactly reproduce a specific real-world object.
The Easiest Way to Add an Object to a Photo Without Photoshop
AI generative fill is one of the simplest ways to add something to a picture without manually cutting, pasting, or blending separate images. You select an area, describe what you want, and AI generates new content using the surrounding photo as visual context.
For example, imagine you have a photo of a wooden dining table with an empty space in the middle. You want to add a small flower vase without taking another photograph.
Instead of finding a separate vase image and manually blending it into the scene, you can select the empty part of the table and ask AI to generate one.
The distinction between traditional photo compositing and generative fill is important:
Traditional compositing | AI generative fill |
|---|---|
Uses an existing object image. | Generates new visual content. |
Requires positioning and blending separate image elements. | Uses a selected area and a text instruction. |
Often involves manual perspective and shadow adjustments. | Attempts to match the surrounding scene automatically. |
Useful when an exact product or object must be preserved. | Useful when a plausible new object is sufficient. |
Adobe's official Generative Fill documentation follows a similar selection-and-prompt process, confirming that selections help define which parts of an image are edited.
With Betatum AI , you can click an existing object to select it automatically or brush over an area manually. This makes it possible to add objects to photos with AI while focusing the edit on a specific part of the image.
How to Add Objects to Photos With AI in 4 Steps
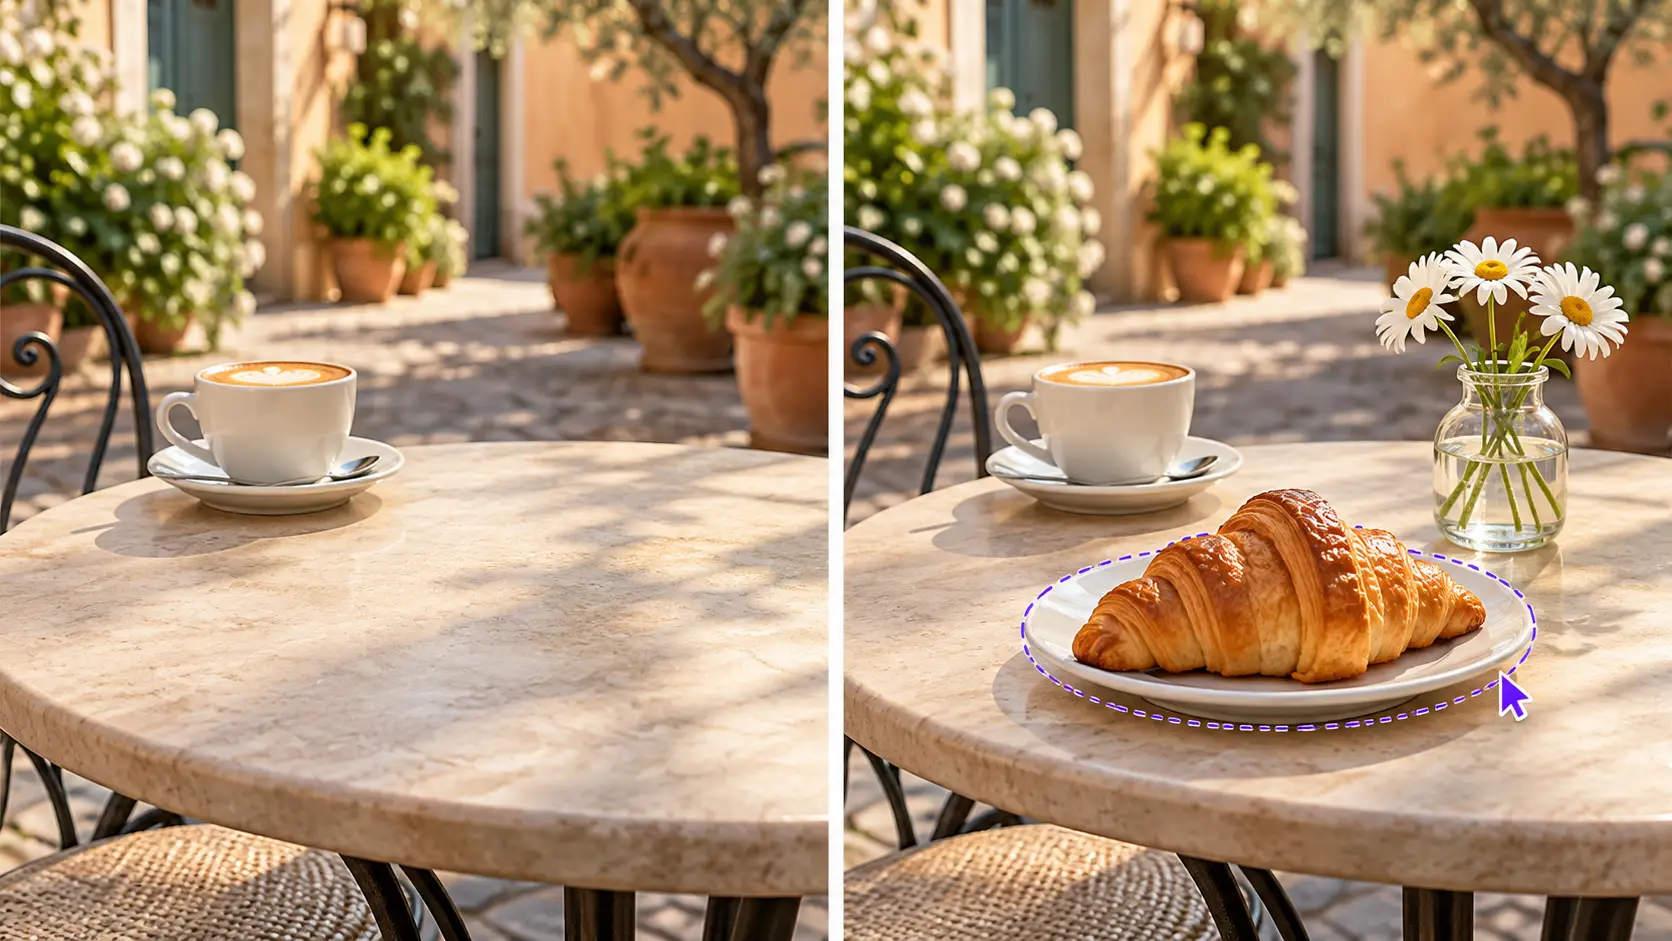
You can insert an object into a photo with four basic actions: upload your image, select the intended location, describe the object, and generate the result. The key is to give AI enough visual direction without making the process unnecessarily complicated.
Here's how to do it using Betatum.
Step 1 — Start With the Right Photo
Start with the clearest version of your photo and make sure the location where you want to add the object is visible.
A well-framed image gives AI more useful information about the surrounding environment, including lighting, perspective, surfaces, and nearby objects.
Before uploading, consider whether the intended object has enough room to fit naturally.
For example, adding a small coffee cup to an empty desk is relatively straightforward. Adding a large armchair to a tightly framed room with almost no visible floor is more challenging.
Use the highest-quality original image available rather than a small screenshot or heavily compressed copy.
AI may generate plausible new details, but it cannot guarantee that missing information from a poor-quality source will be reconstructed accurately.
Step 2 — Select Where the New Object Should Go
Select the area where you want the object to appear. In Betatum, you can click an existing object for automatic selection or use the brush to mark an area manually.
If you're adding something to an empty space, brush over the intended location.
If you're replacing an existing object, automatic selection can help identify what needs to change.
The selection does more than tell AI which pixels to edit. It also helps define the available space and influences the generated object's placement.
Imagine you're adding a lamp to a bedside table.
Selecting a small area above the tabletop encourages a compact object. Selecting a much larger area may give the model more room to generate a larger lamp or additional surrounding details.
Try to include enough space for the intended object and its natural contact with the surface.
Practical tip: If the generated object appears too large or covers something important, reconsider the selected area before rewriting the entire prompt.
Step 3 — Describe What You Want to Add
Write a clear description of the object, including the details that matter most for its appearance and placement.
You don't need an excessively long prompt. A useful starting framework is:
Object + Appearance + Position + Scale + Scene Relationship
A small matte-black ceramic vase with white flowers on the left side of the wooden table, viewed from the same camera angle.
Why it works
Prompt element | What it controls |
|---|---|
Object | Ceramic vase |
Appearance | Matte black, white flowers |
Position | Left side of the table |
Scale | Small |
Scene relationship | Same camera angle |
This description tells AI more than simply writing "add a vase."
It gives direction about what the object should look like and how it should relate to the existing photograph.
However, you don't need to include every photographic term in every prompt.
Start with the object and its intended location. If the first result looks wrong, add the missing constraint.
For example:
If the object is too large, specify "small" or "compact."
If it looks disconnected from the surface, mention that it should rest naturally on the table.
If the perspective looks wrong, ask for the same camera angle as the original photo.
Adobe also recommends using more descriptive prompts when additional control over generated content is needed.
Step 4 — Generate, Inspect, and Refine
Generate the edited image, then inspect whether the new object fits naturally into the original scene.
The first result may be usable, but don't assume it is automatically correct.
Pay particular attention to five details:
What to check | What to look for |
|---|---|
Scale | Does the object look proportionate to nearby objects? |
Placement | Is it positioned where you intended? |
Lighting | Does its brightness and shadow direction match the scene? |
Surface contact | Does it appear to rest naturally on the floor, table, or other surface? |
Visual artifacts | Are there distorted edges, unusual shapes, or unwanted changes? |
A flower vase floating slightly above a tabletop can make an otherwise convincing edit look artificial.
Likewise, a lamp that casts a shadow in the opposite direction from every other object may immediately draw attention.
If the result isn't convincing, adjust the selected area or revise the prompt and generate again.
You may only need to change one detail rather than start from scratch.
What Can You Add to a Photo With AI?
Betatum AI Generative Fill can be used to generate objects, accessories, furniture, and other visual elements inside selected areas of an existing photo. The most useful additions are those that serve a clear purpose in the scene rather than simply filling empty space.
Here are several practical ways to use it.
Product Photos
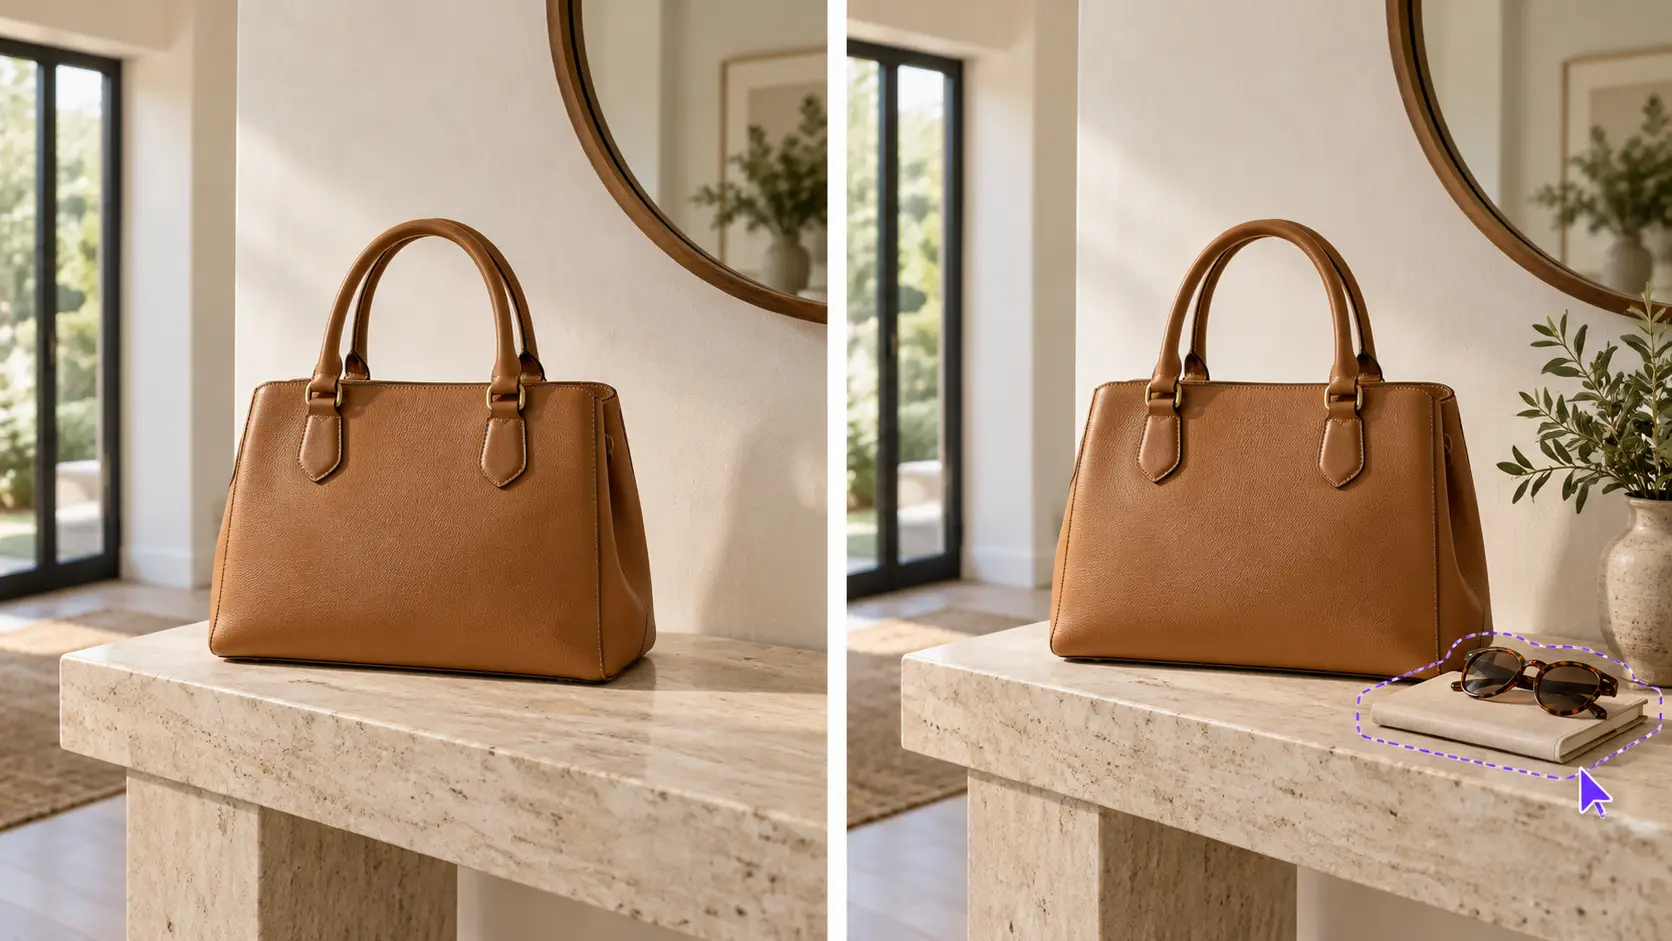
You can add contextual objects to product photos to help demonstrate how an item might look or be used in a particular setting.
For example, you could add a decorative plant beside a skincare product, a notebook next to a desk accessory, or simple lifestyle props around a handbag.
These additions can help you explore different visual compositions without arranging an entirely new physical photoshoot.
However, generated accessories should not be presented as products included in the purchase if they are not actually part of the package.
Interior Photos
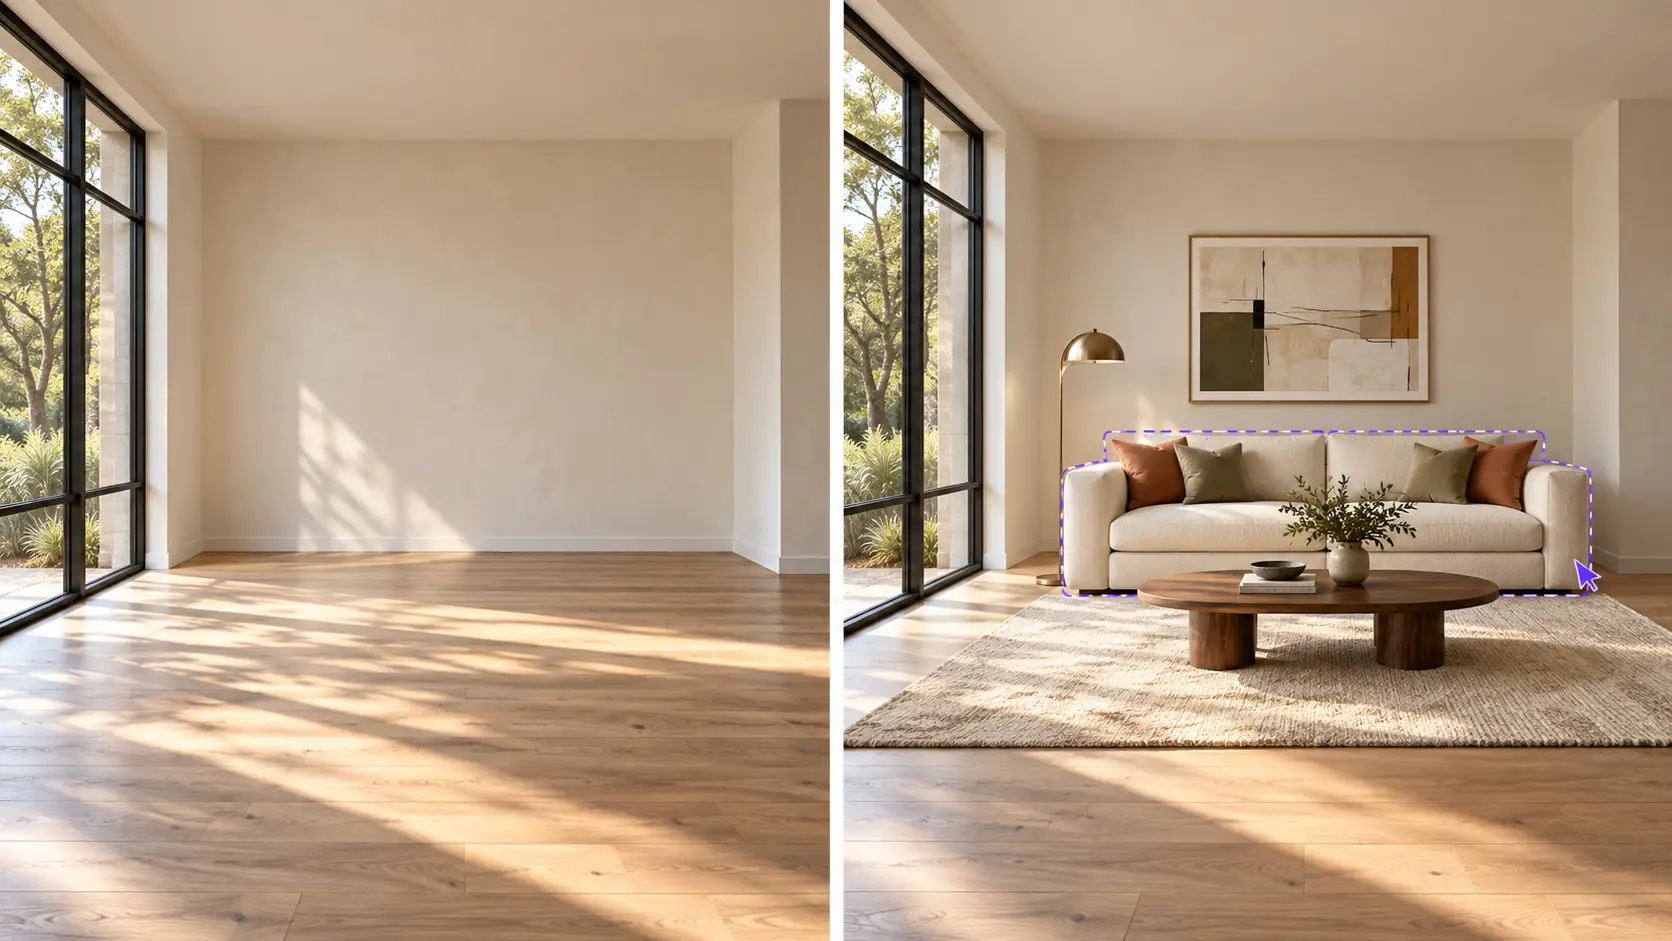
You can add furniture and decorative elements to empty spaces to visualize how a room could look when furnished.
For example, you might add a sofa to an empty living room, a floor lamp beside a chair, or artwork above a bed.
Betatum AI Generative Fill supports generating furniture in empty room photos by selecting the appropriate area and describing what should appear there.
This is different from Virtual Staging tool , which is intended to restyle rooms that are already furnished.
Social Media Photos

You can add accessories, decorations, and other scene elements to create different versions of an existing image.
A simple portrait could include seasonal decorations, while a lifestyle photograph might benefit from flowers, balloons, or other details that support its theme.
The important thing is to preserve the original subject and avoid adding elements that make the composition unnecessarily crowded.
Marketing Creatives

You can generate supporting objects for promotional images, social campaigns, and other marketing visuals.
For instance, a product campaign could include seasonal props, decorative objects, or environmental details that reinforce a particular theme.
This makes generative fill useful when you need to explore creative directions without rebuilding the entire scene.
Keep in mind that generated objects are visual representations. If your marketing image must show an exact branded product, packaging design, or physical feature, use verified product photography rather than relying on a text prompt alone.
Adding People to Photos
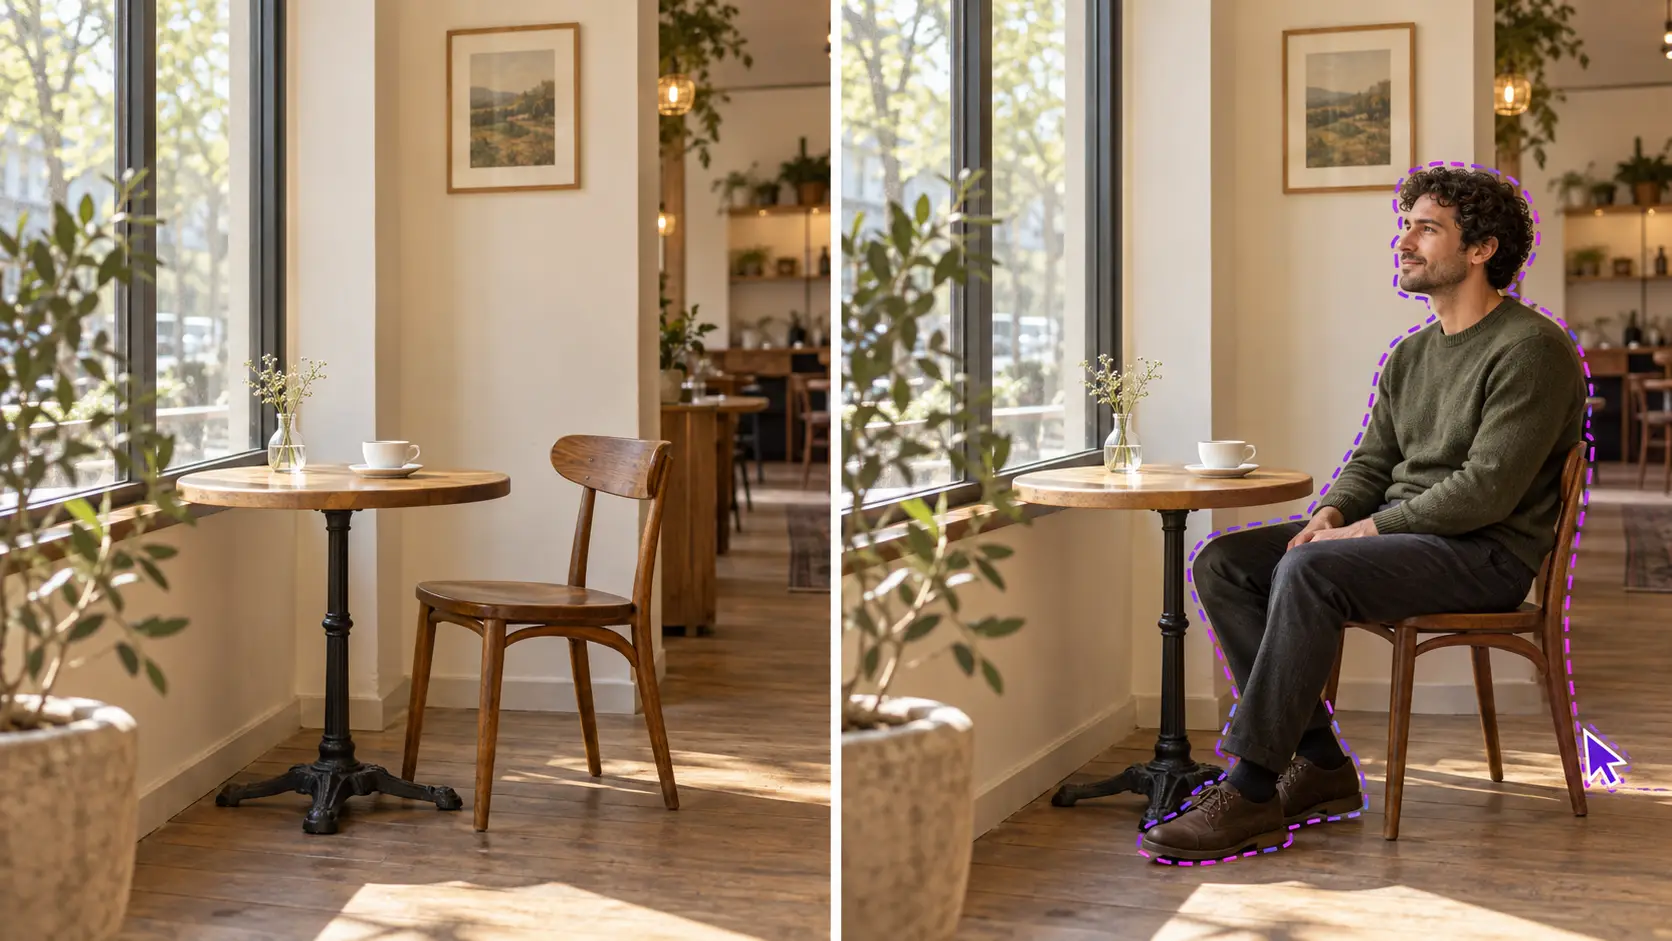
AI generative fill can also create a person within an existing image, making it useful for conceptual scenes, lifestyle compositions, and creative visualizations.
If you're looking for the best AI photo editor to add people, consider whether you want to generate a new person or insert a specific real person.
These are different editing tasks.
Generative fill can create a plausible person based on your instructions, but a text prompt alone cannot guarantee the accurate reproduction of a particular person's identity, face, or clothing.
For a conceptual scene, you might describe a person standing beside a window or sitting at a café table.
For an edit involving a specific real person, a workflow using their actual photograph and appropriate consent provides a more suitable starting point.
How to Add Objects to Photos on iPhone, Android, or Samsung
You can use a browser-based AI photo editor to add objects on your phone without installing desktop editing software. Betatum supports browser-based use on iOS and Android devices, although selecting small areas may be easier on a larger screen.
How to Add Objects to Photos on iPhone
To add an object to a photo on iPhone, open Betatum in your browser, upload the image, select the desired area, and describe what you want to generate.
For more precise edits, zoom in on the area before making your selection.
A narrow selection can be particularly useful when inserting small objects into an otherwise complete composition.
How to Add Objects to Photos on Android
To add objects to photos on Android, use the same upload, select, describe, and generate workflow in your mobile browser.
The quality of your selected area matters more than the phone's operating system.
If an object appears in the wrong location, adjust the selection and try again instead of repeatedly submitting the same prompt.
How to Add an Object to a Photo on Samsung
Samsung users can also use a browser-based generative fill workflow to add new content to their images.
Open the tool, upload the photo from your device, mark the intended location, and describe the object.
For example, you could add a small plant to an empty shelf or a decorative cushion to a sofa.
If the generated result does not match the original scene, refine its scale, position, or description before generating another version.
Conclusion
Adding objects to photos no longer has to involve a complicated Photoshop workflow. With AI Generative Fill, you can select an area, describe what belongs there, generate the new content, and inspect the result.
A convincing edit depends on more than the prompt itself. The selected area, object's scale, placement, perspective, and lighting all influence whether it feels like part of the original photograph. If the first result looks unnatural, refine the selection or prompt rather than accepting it automatically.
Ready to Add Something to Your Photo?
Bring your ideas to life with Betatum AI Generative Fill. Upload your photo, select an area, and describe what you want to add—whether it’s a small object, furniture, or creative details. Generate your edit and refine it until it fits naturally into the scene.